Basic Beginner Beer Class Review
“I’d like to thank Windsor Homebrew Supply for their education, encouragement and support. I’m so thankful for this prestigious award, Brewmaster of the Year. My competition, Stone, Beachwood, Golden Road, and Ballast Point were such worthy competitors. Honestly, it was an honor just to be nominated!”
The flash of the paparazzi’s cameras nearly blinded me as I walked off the stage in my crimson, off the shoulder evening gown. I gingerly made my way through the backstage area to an exit door, where my limousine awaited with an ice-cold growler of my award winning session IPA.
“So what time does the class start?” My friend Beth startled me from my daydream.
“Oh, 1:00 on Sunday,” I answered, snapping back to the reality that
what I knew about beer-making would fit in a shot glass.
As many craft beer lovers do, I too have delusions of brewing the next Sculpin, opening the hot new brewery and selling it for billions a year or two later.
So when my brother-in-law texted me: “Do you want a bunch of beer making equipment? My buddy says he doesn’t want it anymore, and you can have it for free.” I said, HECK YEAH!
He brought it over and I surveyed the gaggle of stuff filling up a quarter of my garage. All kinds of thingamajigs and thingamabobs that looked right out of a scientific lab. Glass beakers, copper coils, thermometers, bags of powders, a giant stainless pot. What was I supposed to do with all of this?
I googled “beer making class,” and the first listing was Windsor Homebrew Supply Co., located at 743 Baker Street, Suite D, in Costa Mesa, CA. I knew the area, as I had visited the nearby Gunwhale Ales and Barley Forge Brewing Co. on more than one occasion.
My first thought was, “Man, I’d sure love for them to hire me to work on their website.” My second thought was that I missed the most recent class, and no future classes were listed. I contacted them to get the next class date.
Class day
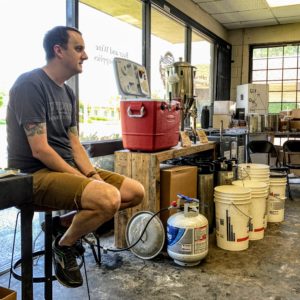
Beth and I showed up early to 2 rows of folding chairs in a semi-circle around a pot simmering on a gas burner. Scott, the owner, said the class was full, so we picked out front row seats before looking around the store. About 15 people showed up to learn these extract-brewing basics.
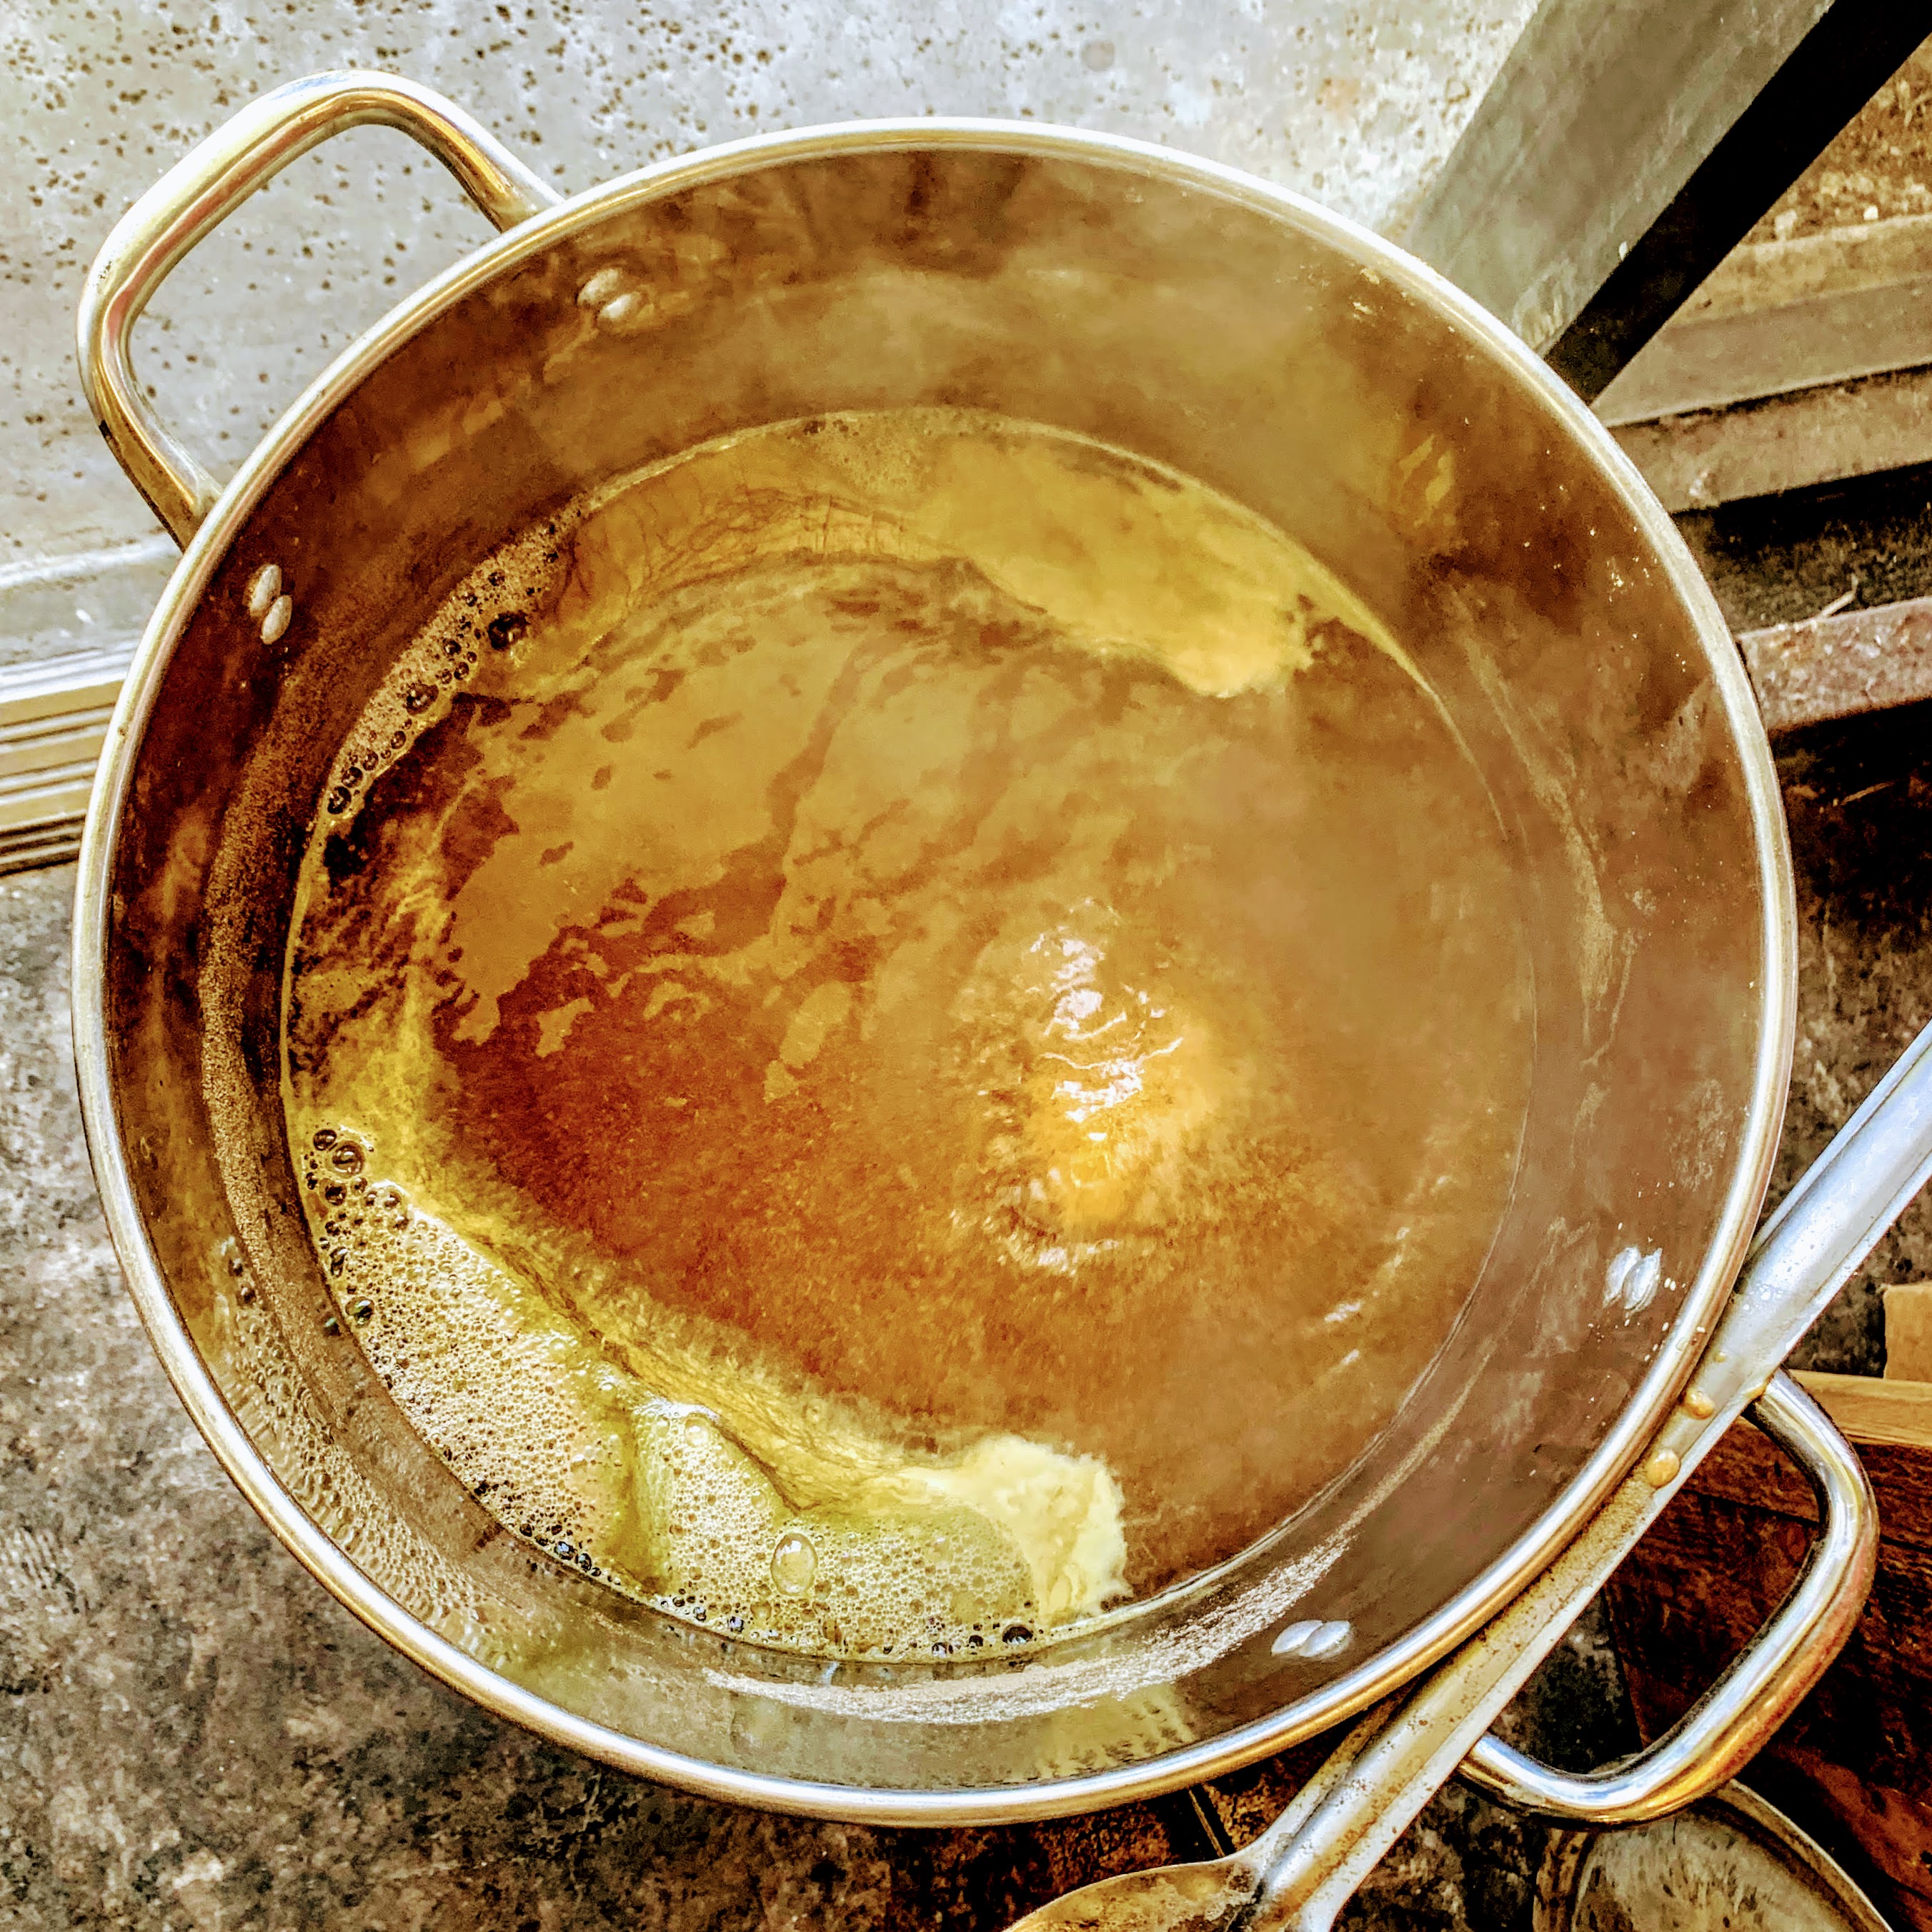
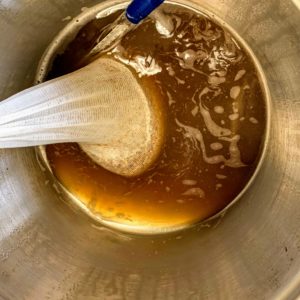
Scott passed around samples of grains while explaining that the steaming pot in front of us was making “wort,” which is essentially a “tea” made from steeping grains. We were encouraged to taste the grains to experience the flavor they would impart to the beers.
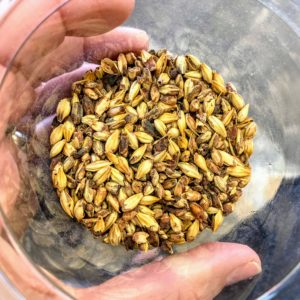
The “Crystal Grain” was a caramelized barley, and had a taste similar to Grape Nuts, which isn’t surprising, since Grape Nuts contains malted barley flour.
The roasted grains, which is used for making porters and stouts, tasted like just as you would expect, roasty and chocolatey.
After the grains had steeped for 30 minutes (which Scott had begun before class started in the interest of time) he rinsed the grain bag in a colander over the wort, and added more water to the pot.
Scott brought the pot to a boil, while showing us a container of liquid malt, which resembled molasses.
“Can I have 2 volunteers?”
I elbowed Beth. I would have shot my hand up, but I was taking notes and pictures!
Beth looked at me as if to say “Me?” while two other people beat her to the punch.
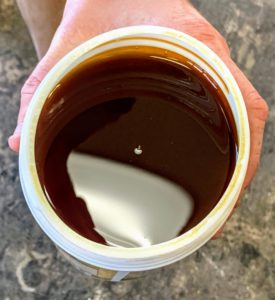
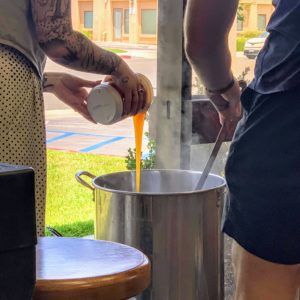
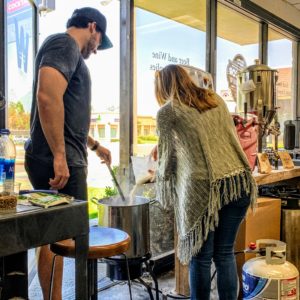
A handsome dude, the size and shape of a superhero, volunteered to be the stirrer, while some lucky girl who wasn’t Beth got to slowly pour in the liquid malt. The heat had been momentarily turned off, as Scott said the malt can stick to the bottom of the pot and scorch.
Scott asked if anyone wanted to volunteer to put in the powdered malt. Beth had her hand up before I could elbow her this time. Superhero stirred, while Beth sprinkled the powder into the pot.
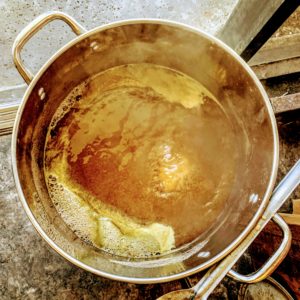
The heat was turned back on, and the pot brought to a rolling boil.
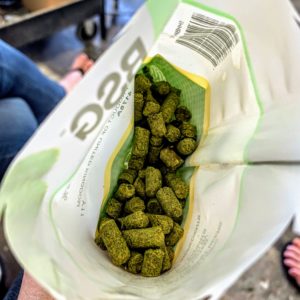
Scott passed around my favorite ingredient, hops, before adding them to the pot. I had only seen whole hops before, but apparently pellets are used by most home brewers for convenience.
We had to be careful not the let the pot boil over after adding the hops.
Since he was making a Belgian brew, he only put a 1 oz. bag of hops in the pot at the beginning of the boil, explaining that hops added early in the boil were for “bittering,” while hops added at the end of the boil were for aroma.
The pot had to boil for 1 hour, so Scott used this time to talk about cleaning and sanitizing brewing equipment before brewing, and answered student questions. Of course, my first question was how many ounces of hops were in IPAs.
IPAs will have anywhere from 6-16 ounces of hops. Scott shared that when IPAs first became popular, most of the hops were added at the beginning to make them bitter. These days, people are looking for less bitterness, and more drinkability, so much of them are added at the end of the boil for that nice citrusy/piney aroma.
45 minutes into the boil, another ounce of hops were added, and a large copper coil was added to the boil to sanitize the coil.
After the hour of boiling, the goal is to cool the liquid to 75 degrees as quickly as possible, so it can be transferred to the fermenter without contamination. Scott connected a garden hose to the copper tubing, and ran water through the tubes to cool the wort.
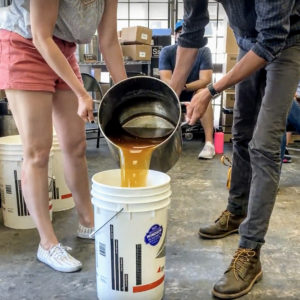
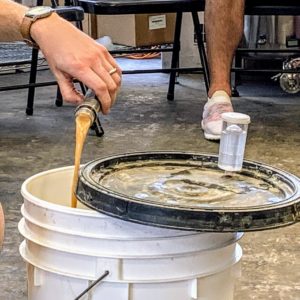
Finally, it was time to put the wort in the fermenter. Two volunteers poured, then Scott added liquid yeast and sealed the container. The lid had an air lock, which allows gasses to escape during fermentation. Otherwise, the lid would pop off.
Scott set the container aside, and thanked everyone for coming.
But wait! We didn’t talk about bottling! How am I going to drink my delicious home brew?
I chased Scott down after the class to ask about bottling. He said to transfer the beer into a bottling bucket, add priming sugar, then fill sanitized bottles, cap, and wait two more weeks.
He helped me pick out an auto-siphon and a funnel, two of the pieces I didn’t have in my equipment.
I feel more confident about trying the brewing process after watching someone else do it.
The class was far from exhaustive, but beneficial for beginners. Scott answered all of our questions, and encouraged us to call him or come back to the store if we had more.
I looked at Beth, and asked, “Shall we try making some beer?” “Yes!” she answered emphatically. So we picked out a IPA ingredient kit that sells for about $40.
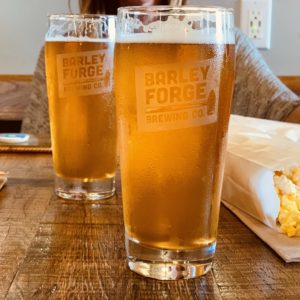
“Hmmm. I feel like having a beer now,” I stated as we stepped outside into the Southern California sun.
Luckily, Barley Forge Brewing Co. is right across the street.
Better go check out my competition.
Basic Beer Brewing Steps:
These are the steps Scott used or talked about during the class. Obviously, different brewing recipes will have different times and amounts.
Clean & Sanitize
PBW (Powdered Brewery Wash)- cleans physical matter from the brewing equipment.
Rinse well.
Sanitizer-Star San.
Steep
Bring 1 gallon water to 155-160 degrees
Turn off heat.
Steep 1/2-1 lb. of grains in a bag for 20-30 min to make wort.
Boil
ROLLING boil for 1 hour total. (210-212 degrees)
Put grain bag on colander over the pot, rinse. Discard grains or set aside for use in recipes.
Add about 2 1/2 gallons of water.
Bring to boil.
Turn off heat, Add 6.6 lbs of malt extract (liquid or dry, or 3.3 lbs of each)-stir.
Turn heat back on. Bring to rolling boil.
Add Bittering Hops
Keep an eye on it. Don’t let it boil over.
At 45 min:
Add Aroma hops
Add Copper coil to pot to sanitize
Cool
At 1 hour, remove from heat.
Cool to 75 degrees as quickly as possible.
Run cool water through copper tubing, or place pot in ice bath.
Ferment
Pour into fermenter (using a strainer is good).
Add yeast.
Add water to the 5 gallon mark.
Put on lid and airlock.
Wait 2 weeks.
Bottle
Siphon into bottling bucket.
Add priming sugar.
Sanitize bottles.
Bottle.
Cap.
Wait 2 weeks.
Crack one open and see if it’s fermented.
If so, refrigerate.
2 thoughts on “Beer Kindergarten @ Windsor Homebrew Supply Co”
So where is your batch?
I still need to post about brew day!